About this guide
Difficulty: Medium
Addons
Addons are a powerful way to add functionality to the terminal, they are used to create the config panel, UI, and start/end screens.
Installing addons
Want to install an addon into your terminal ?
Follow these steps:
Get the addon model
You can find a list of premade addons here
Insert the addon model into your game
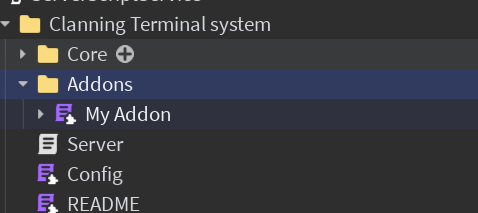
Create an Addons folder inside the terminal's main folder if not present and place your addon inside it.
Load the addon inside the Server
Add a :AddAddon() call in the server script referencing the module:
wrapper:AddAddon(script.Parent.Addons["My Addon"])
You're done
The addon should now be loaded and active.
Creating addons
Addons are defined as modulescripts
Addon module structure
local Addon = {}

-- Array of instances that will be placed in game.ReplicatedStorage.Libraries
-- If a duplicate is found, it will be ignored
Addon.Libraries = script.Libraries:GetChildren()

Addon.init = function(wrapper)
    -- Function ran once supplied with the terminal wrapper
end

return Addon
Editing default addons
It is not recommended to edit the default addons, instead copy them and edit the copy then load the copy instead of the default addon.
Example
Here is an example of a simple addon that changes a part's color based on ther terminal's state:
Code
local MapEventAddon = {}

MapEventAddon.Libraries = script.Libraries:GetChildren()

MapEventAddon.init = function(wrapper)
    wrapper.terminal.events.stateChanged.Event:Connect(function(newState)
        local colors = {
            attackers = Color3.new(1, 0, 0.0156863),
            defenders = Color3.new(0.0313725, 0, 1),
            neutral = Color3.new(1, 1, 1),
            locked = Color3.new(0.419608, 0.419608, 0.419608)
        }
    workspace.TERMINALZONE.Color = colors[newState]
    end)
end

return MapEventAddon